I used to have someone wax our car but because I want to cut cost and save some money, I decided to try to wax our car myself. So I sought the wisdom of the internet and went on a crash course on waxing. There are a lot of blogs, vlogs and articles that give a lot of advice on how to wax your car. But the first thing I did was to find out how severe was the damage to the paint. Our car is almost 8 years old and I admit that I do not take care of it as much as I should.

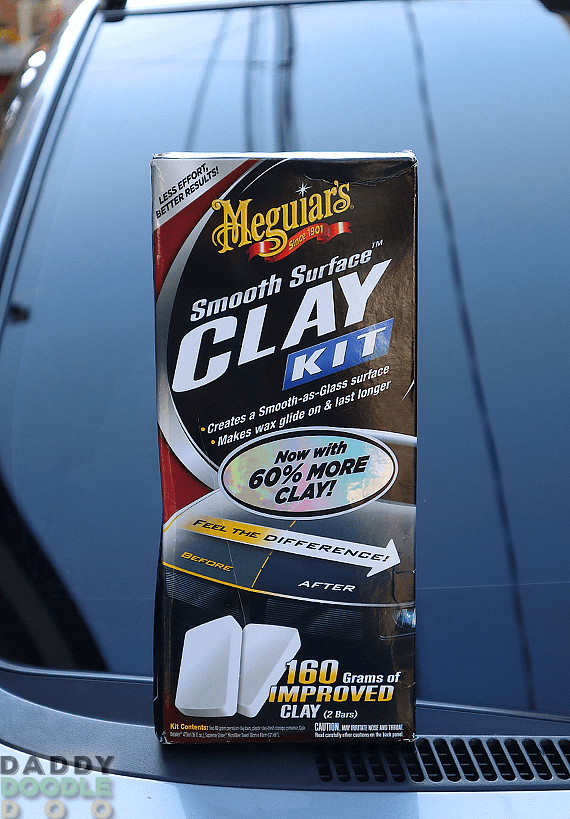
Our garage does not have any roof that is why our car is exposed to the elements (bird poop included..lol), so I took that in consideration in accessing the state of the paint of the car. After washing and drying our car, I let my fingers run across the paint with only light pressure, I can feel the roughness and I can hear a squeaking sound. But the dirt that caused the roughness that I felt was not visible to the naked eye. So I googled it and how to remove it. I found out that this is caused by small dirt the stuck to the car paint that the car shampoo and water could not remove. That’s when I found out about using clay to remove those tough dirt stains. There a lot of car clay to choose from but the most accessible to me was Meguiar’s Clay Kit. Meguiar’s is well known brand so you can’t go wrong with it.

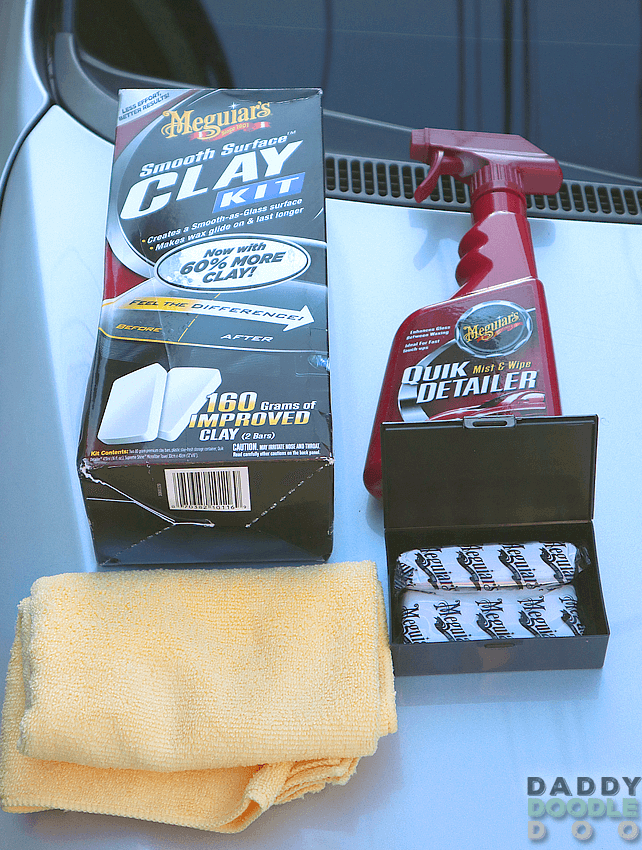
Meguiar’s Clay Kit comes in a box that contains a quick detailer spray, microfiber towel and two 160 grams each of clay bar.
After washing and drying your car, you can start using the clay on a dry and cool car paint underneath a shade or without direct sunlight. Since we don’t have a roof I started working late afternoon when our garage is covered by our house from the sun. You first need to knead the clay. One clay bar is enough for several usage. You need to flatten it up to the size of your hand and be careful when doing this. Do not drop the clay on the ground because it will pick up bits of small stones that can bruise the paint of your car. Before I tried to clay our car, I thought it was tedious and time consuming. But I learned that it was easy to do. You do not have put pressure when rubbing the clay, you just need to let it slide where you sprayed the quick detailer then dry it off with the towel. The roof was the dirtiest part. You can really see the color of the clay turning from white to rustic in color.
When I finished the whole car, I tried running my hands on the paint and I didn’t feel the roughness anymore. The squeaking noise was gone. After claying, I immediately applied wax on the paint to give it that extra protection and glow. Before I forget,let me just say that you could also use the clay to clean the windshield to remove those bug stains that the car shampoo could not remove.
Happy “claying”!

Leave a Reply